
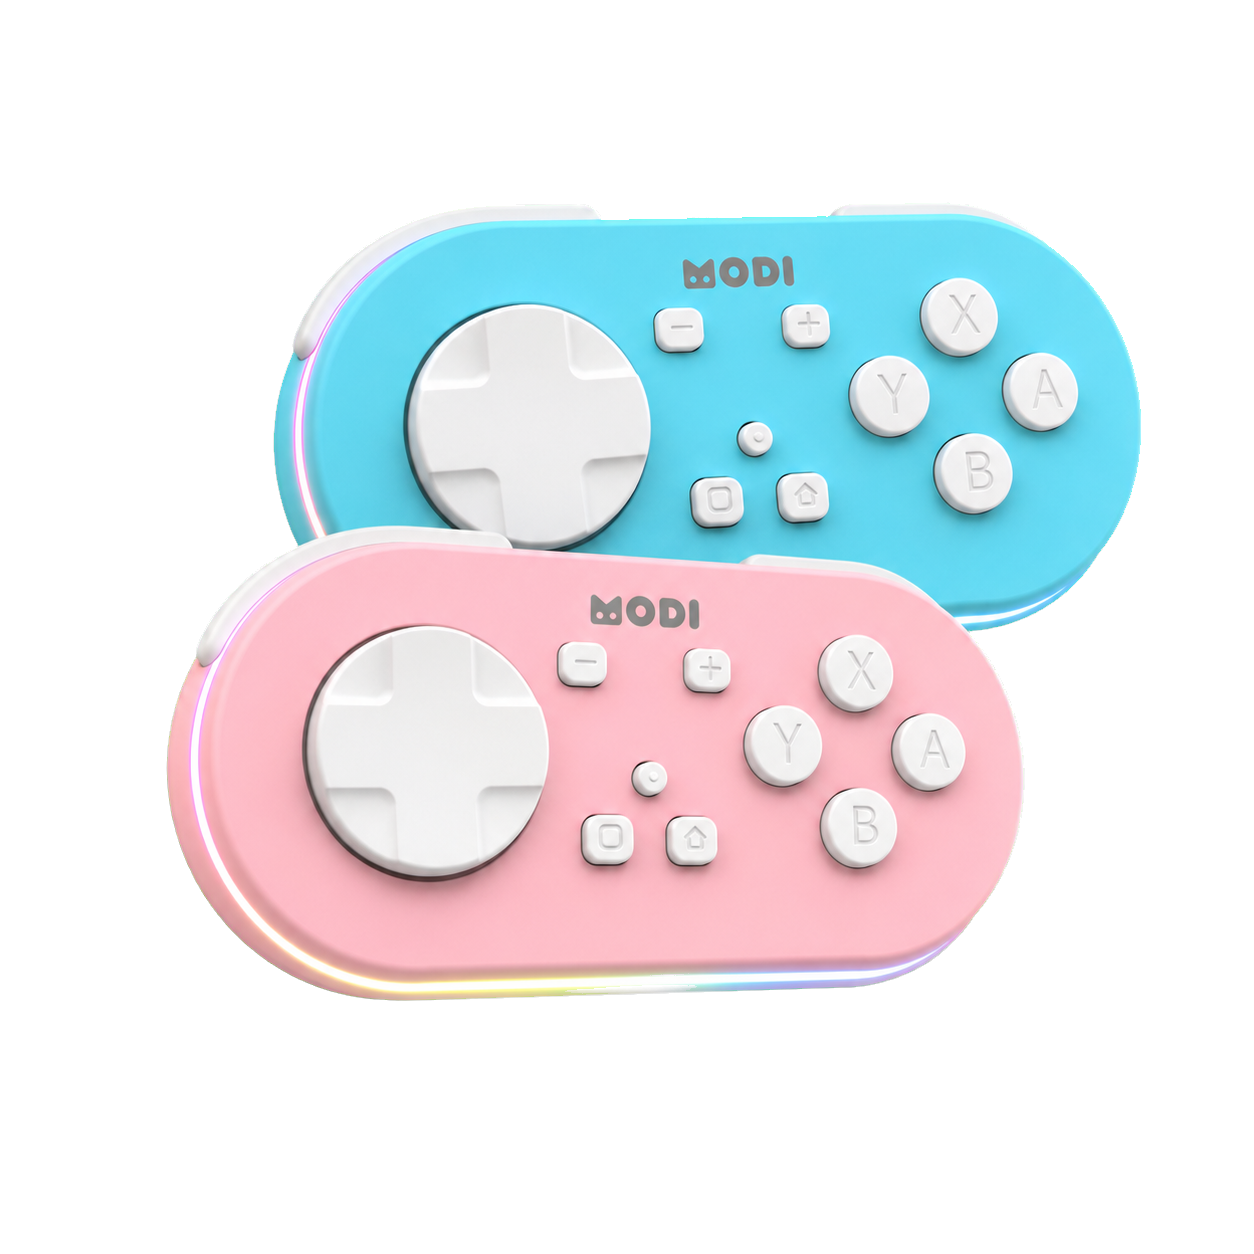
To map Anki answer buttons on Android with MODI, pair the remote in Switch Mode, open AnkiDroid, then use Settings, Controls, Set Key Binds to assign Again, Hard, Good, and Easy to the buttons you want. The important Android detail is that displayed controller labels can look wrong: X-Y-B-A may appear as Y-X-A-B inside AnkiDroid. Treat the labels as a menu display issue, assign the actions, and test each physical button during review.
To map Anki answer buttons on Android with MODI, pair the remote in Switch Mode, open AnkiDroid, then use Settings, Controls, Set Key Binds to assign Again, Hard, Good, and Easy to the buttons you want. The important Android detail is that displayed controller labels can look wrong: X-Y-B-A may appear as Y-X-A-B inside AnkiDroid. Treat the labels as a menu display issue, assign the actions, and test each physical button during review.
MODI is an independent Bluetooth accessory for supported Anki review workflows; AnkiDroid is separate software that decides how key binds are shown and applied. For the standard Android setup, MODI uses gamepad-style input through Switch Mode, while AnkiDroid provides the Set Key Binds menu. If you need the broader pairing walkthrough before mapping actions, use the complete MODI setup tutorial. This article focuses only on the Android answer-button mapping step after the remote is available to the device.
Use Switch Mode
On Android, use MODI in Switch Mode for the standard AnkiDroid workflow because that mode exposes gamepad-style inputs. Start from the phone or tablet Bluetooth settings, not from inside AnkiDroid. Hold Y + Home for one second, select the MODI connection entry, and wait for the center LED to become solid blue. That blue center light indicates a successful Switch Mode connection according to the MODI instructions, not that AnkiDroid actions have been configured.
If the remote was previously paired in another mode or with another device, remove saved MODI or Anki remote entries from Bluetooth settings before pairing again. That forget-and-repair step prevents Android from reconnecting to an old profile while you are trying to configure Switch Mode. Pressing Home later wakes and reconnects in the last-used mode, so confirm you are actually in the Android gamepad-style setup before troubleshooting AnkiDroid key binds.
Open Binds
After Android recognizes the remote, open AnkiDroid and go to Settings, then Controls, then Set Key Binds. This is the AnkiDroid side of the setup: MODI sends inputs, while AnkiDroid decides which review command each input should trigger. Look for the review actions you want to map, starting with the four answer choices used during card review: Again, Hard, Good, and Easy. Use AnkiDroid’s current menu labels rather than assuming a desktop shortcut layout applies.
Set Key Binds is also where you can separate answer choices from other review actions, such as replaying audio or undoing a previous review, if those are available in your AnkiDroid configuration. Keep the first pass simple. Assign only the core answer actions before adding extra commands. A smaller initial map makes it easier to notice whether a wrong command comes from a mislabeled controller input, an accidental duplicate assignment, or a button you did not intend to use.
Map Answers
Map Again through Easy deliberately instead of pressing buttons at random until something works. Choose the AnkiDroid action for Again, press the physical MODI button you want for that response, and save or accept the detected input. Repeat for Hard, Good, and Easy. If you normally reveal a card first and then grade it, make sure Good or your reveal command is placed where it will be easy to distinguish from the other answer choices during a review session.
The exact physical layout is a workflow choice, not a rule imposed by AnkiDroid. Many users keep related answer actions near one another so the grading pattern feels predictable, but the app only cares that each command receives a recognized input. Avoid mapping two answer actions to the same button unless you intentionally want that behavior. If AnkiDroid appears to overwrite a bind, revisit the action list and confirm every answer choice still has its own assignment.
Expect Labels
A known Android-specific wrinkle is the displayed controller label mismatch in AnkiDroid. Because of a third-party display mapping issue, X-Y-B-A inputs can appear as Y-X-A-B in the AnkiDroid menu. This does not necessarily mean the remote is sending the wrong command or that the bind has failed. It means the label shown while assigning controls may not match the letter printed on the physical button you pressed.
Handle the mismatch by trusting a practical button test instead of the menu label alone. Write down the physical button you pressed for Again, Hard, Good, and Easy, or move through the setup one action at a time so the layout stays clear. If AnkiDroid shows a different controller letter, keep going and test the resulting behavior on cards. The assigned command can still function normally even when the displayed label looks swapped.
Test Buttons
After saving the binds, test every button in an actual review context before relying on the layout. Use cards where an incorrect answer choice will not disrupt anything important, then reveal the answer and press each mapped button once. Confirm that Again selects Again, Hard selects Hard, Good selects Good or advances as expected, and Easy selects Easy when that answer button is available. This direct test is the most useful check because it verifies app behavior, not just detected input names.
If one button performs the wrong action, return to Set Key Binds and change that specific command instead of rebuilding the whole setup immediately. If several buttons are wrong in a pattern that matches the label mismatch, remap based on physical buttons and test again. If the remote connects but remains unresponsive after fresh pairing and app configuration, restart the Android device and try the pairing and AnkiDroid test again before assuming a hardware fault.
Keep Stable
Once the four answer actions behave correctly, avoid changing Bluetooth mode unless you have a reason to reconfigure the remote. MODI remembers the last-used mode for wake and reconnect, so a stable Switch Mode pairing is usually the simplest Android arrangement. If you later move the remote to a different phone, tablet, or computer, start with the same forget-and-repair process. Saved pairings can preserve old assumptions that do not match the setup you want now.
Keep the Android map focused on actions AnkiDroid can actually assign. MODI is not an official AnkiDroid product, and AnkiDroid’s available controls come from the app, not from MODI marketing language. The remote supplies Bluetooth input; the app turns recognized input into review commands. When you treat pairing, displayed labels, and action mapping as separate layers, Android answer-button problems become easier to isolate and fix without changing unrelated settings.
Sources and product references
This first-party MODI guide was checked against the current product manual and relevant app documentation. App menus and third-party behavior can change after publication.