
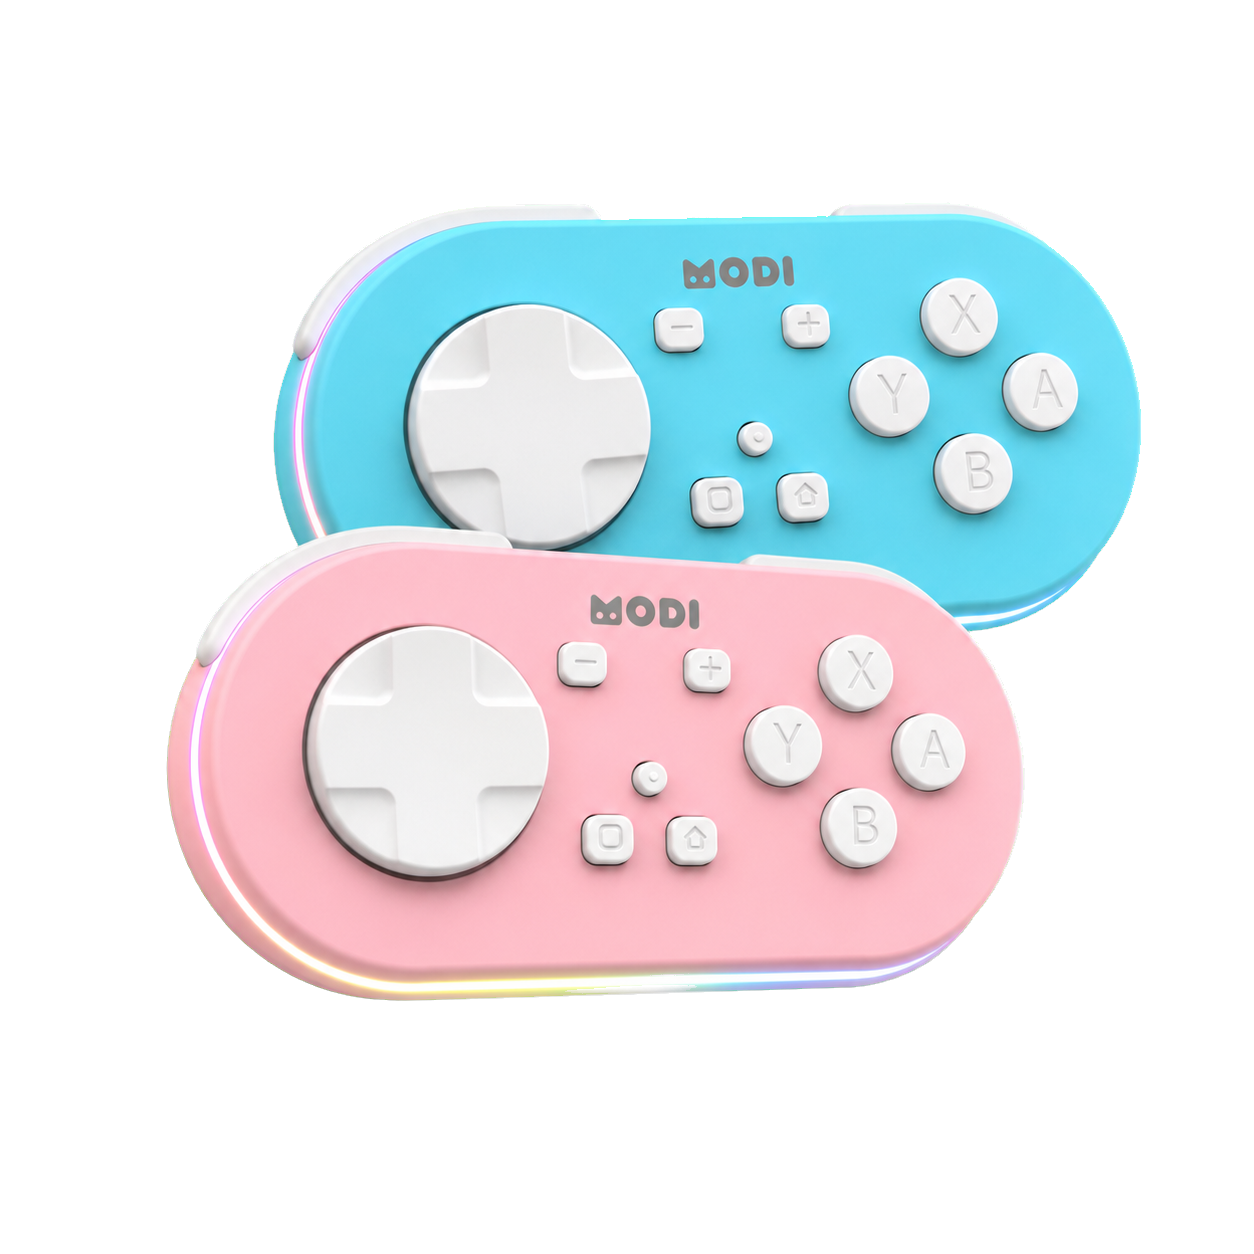
To set up a MODI Anki remote on Android, pair the remote in Switch Mode, then assign its inputs inside AnkiDroid. Open Android Bluetooth settings, hold Y plus Home for one second, select the MODI entry when it appears, and confirm that the center LED becomes solid blue. After Android shows the remote as connected, open AnkiDroid and go to Settings Controls Set Key Binds. Assign the review actions you want, then run a short test review before relying on the setup.
To set up a MODI Anki remote on Android, pair the remote in Switch Mode, then assign its inputs inside AnkiDroid. Open Android Bluetooth settings, hold Y plus Home for one second, select the MODI entry when it appears, and confirm that the center LED becomes solid blue. After Android shows the remote as connected, open AnkiDroid and go to Settings > Controls > Set Key Binds. Assign the review actions you want, then run a short test review before relying on the setup.
MODI is an independent Bluetooth accessory for Anki review workflows. It is not made, endorsed, or certified by AnkiDroid, Anki, Google, or any Android device maker. Android manages the Bluetooth pairing, while AnkiDroid controls which recognized inputs can be assigned to study actions. For desktop setup, Keyboard Mode, or a broader mode comparison, use the complete MODI setup tutorial; this guide stays focused on Android Bluetooth pairing, AnkiDroid Controls, and testing the remote in review.
Pair in Switch Mode
Use Switch Mode for the standard MODI setup with AnkiDroid because it exposes gamepad-style inputs that the app can bind to review commands. Start with the remote awake and near the Android phone or tablet. Open the Android Bluetooth device list first, then hold Y plus Home for one second. When the MODI entry appears, select it and wait for the connection to complete. A solid blue center LED indicates a successful Switch Mode connection.
If the remote was previously used in Keyboard Mode, with another Android device, or with a computer, clear the old pairing before starting. In Android Bluetooth settings, forget every saved MODI or Anki remote entry, then repeat the full Y plus Home pairing process. This matters because the same physical remote can present different input behavior depending on the selected mode, and AnkiDroid setup should begin from the mode you intend to use.
Check Android Bluetooth
Android menus vary by phone and tablet maker, but the goal is the same: open the Bluetooth settings, scan for nearby devices, and choose the MODI connection when it appears. Keep the remote charged enough to stay awake during pairing. If the low-battery LED flashes red quickly, charge the remote before spending time on more detailed troubleshooting.
Once Android reports the remote as connected, pressing Home later should wake and reconnect it in the last-used mode. MODI can automatically sleep after about 2.5 minutes without a Bluetooth connection or after about 5 minutes of inactivity. You can also hold Home for 3 seconds to manually sleep or turn off the remote. These are MODI power behaviors; Android connection status and AnkiDroid button assignments are separate parts of the setup.
Assign AnkiDroid Controls
After Android Bluetooth pairing is complete, configure AnkiDroid itself. Open AnkiDroid, then go to Settings > Controls > Set Key Binds. Choose a review action, press the MODI button you want to use for that action, and save the binding according to AnkiDroid’s prompts. This does not change MODI firmware. The remote sends inputs in Switch Mode, and AnkiDroid stores the relationship between those inputs and the app actions.
Keep the first pass simple. Assign only the review actions you use most often, then confirm those actions work before mapping every available button. Switch Mode defaults can include study-related inputs such as Space or Good, Easy, Again, Replay Audio, Hard, and Undo, but the available command list is controlled by AnkiDroid. If a desired command is not present in the Controls menu, treat that as an app limitation rather than assuming the Bluetooth remote is malfunctioning.
Handle Button Labels
One Android-specific confusion is the known display mapping issue in AnkiDroid’s key bind menu. X-Y-B-A inputs can appear visually as Y-X-A-B while assigning controls. This is a label mismatch in the third-party display layer, not proof that the physical buttons are unusable. Judge the setup by the action that happens during review, not only by the letter displayed in the menu.
A practical approach is to assign one obvious action to one physical MODI button, then test that button before mapping several more. If the action works in review, continue using the physical button layout as your reference. If it does not work, clear that binding and try again with a fresh button press, making sure Android still shows the remote connected in Switch Mode.
Run a Test Review
Before using the remote for a longer session, open a deck with review cards and enter the AnkiDroid review screen. Test a reveal or Good action first because the result is easy to see. Then check Again, Hard, Easy, Replay Audio, or Undo if you assigned those actions. The purpose of this test review is only to confirm that each physical button triggers the intended AnkiDroid action.
If one button works and another does not, return to Settings > Controls > Set Key Binds and inspect that specific binding. If no buttons work, check Android Bluetooth status first, then confirm that the center LED indicates Switch Mode rather than another mode. If the remote appears connected but remains unresponsive after a fresh pairing, restart the Android device and try again. That step accounts for host-device Bluetooth state without assuming the remote is the only possible cause.
Troubleshoot Cleanly
When moving the remote from Android to another phone, tablet, or computer, start by forgetting the saved MODI entries on the old or current host and pairing again on the target device. Use the same forget-and-repair process when changing between Keyboard Mode and Switch Mode. Saved Bluetooth profiles can preserve behavior from an earlier setup attempt, so a clean pairing is the preferred starting point before repeatedly remapping buttons in AnkiDroid.
Do not infer battery percentage from decorative lighting or undefined LED patterns. The documented battery cues are limited: low battery flashes red quickly, charging flashes green, and the charging LED turns off when charging is complete. Decorative lighting can be turned on or off with a double-click of the Light button, and keeping those lights off when they are not needed helps with practical battery life. For Android setup problems, work in order: power, Bluetooth pairing, then AnkiDroid bindings.
Sources and product references
This first-party MODI guide was checked against the current product manual and relevant app documentation. App menus and third-party behavior can change after publication.