
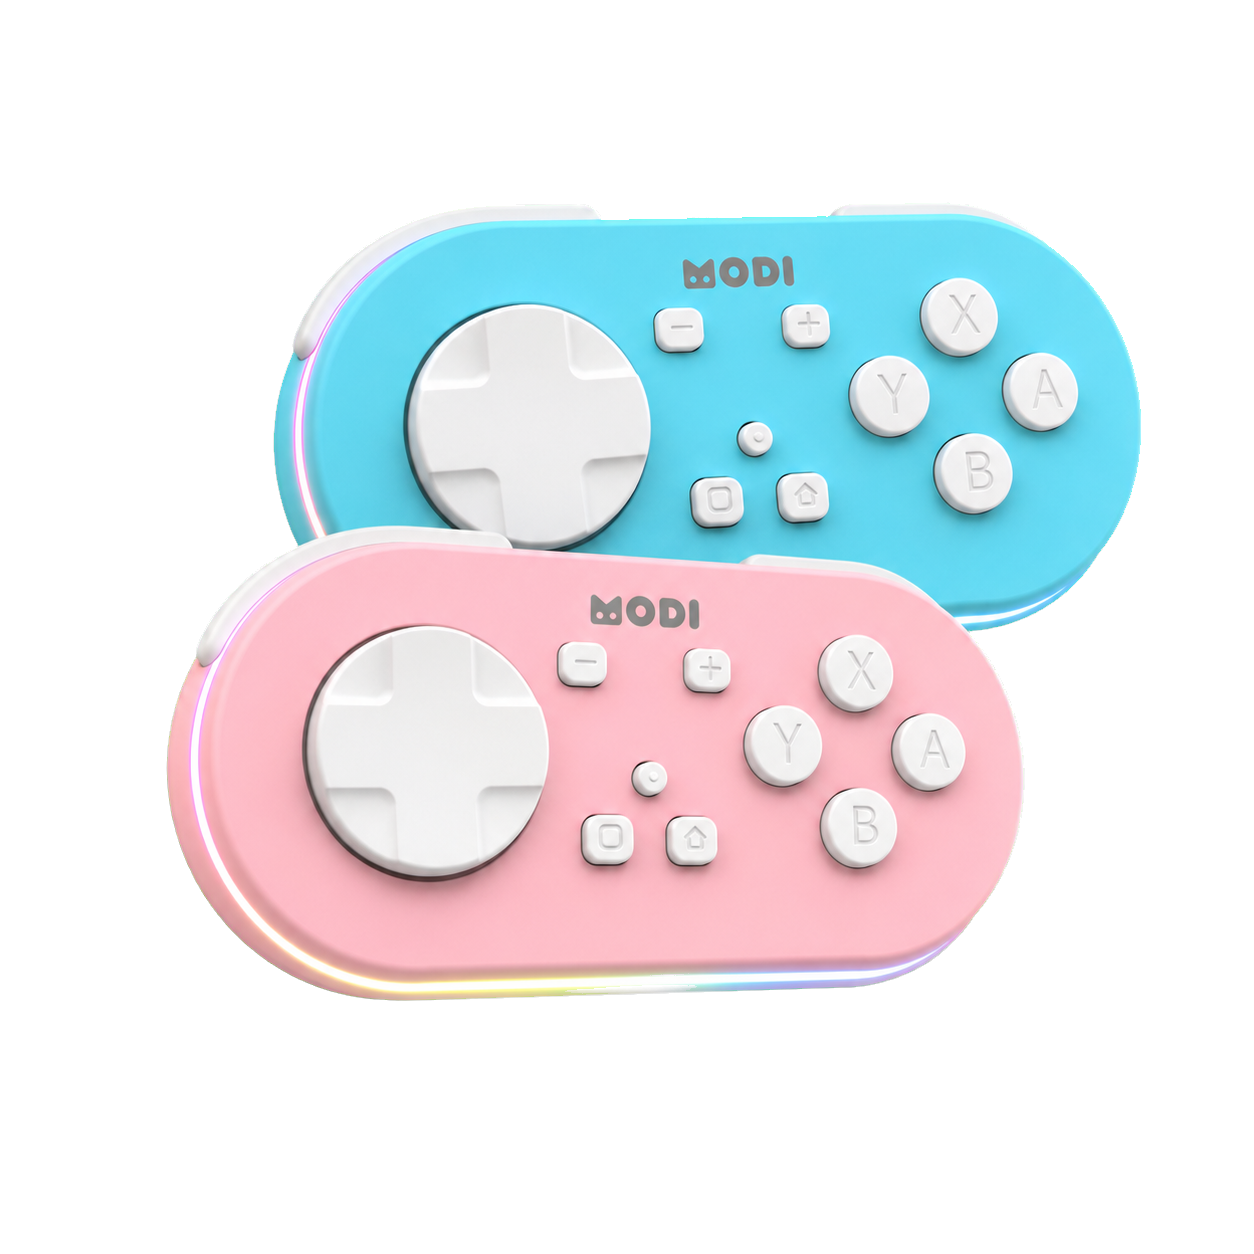
To restore a simple Anki remote button layout, first write down your current MODI assignments, then rebuild around only the review actions you use every session: answer buttons, reveal or Good/Next, and one recovery command. The goal is not to erase every custom choice. It is to remove accidental complexity so each button has a clear job, and your next review session can confirm the layout with one safe test card before you rely on it.
To restore a simple Anki remote button layout, first write down your current MODI assignments, then rebuild around only the review actions you use every session: answer buttons, reveal or Good/Next, and one recovery command. The goal is not to erase every custom choice. It is to remove accidental complexity so each button has a clear job, and your next review session can confirm the layout with one safe test card before you rely on it.
This guide is for the MODI Anki remote, an independent Bluetooth accessory for Anki workflows. MODI is not made, endorsed, or certified by Anki, AnkiMobile, AnkiDroid, or device makers. If you need full pairing or mode instructions before changing buttons, use the complete MODI setup tutorial. For this reset, stay focused on the button map itself: record what exists, choose a small core, decide between Undo and Replay, and test deliberately. Keep old notes until the simpler map proves reliable today.
Snapshot
Before changing anything, record the layout you have now. Open the MODI add-on on desktop Anki, or the relevant control settings in AnkiMobile or AnkiDroid, and list each physical button beside its assigned action. A phone photo is enough if it captures the whole screen clearly. This step protects you from losing a useful custom shortcut while you simplify. It also gives you a baseline if later troubleshooting shows the problem was pairing, not keybinding.
Keep the snapshot practical rather than exhaustive. Mark the buttons you actually press during reviews and circle any assignments you do not recognize. If one button has become overloaded in your memory, write its physical position instead of only its label. MODI can work through preset Keyboard Mode inputs or Switch Mode gamepad-style inputs, depending on the device and setup. Recording the current map helps separate MODI behavior from the way Anki or a mobile app interprets inputs.
Core
A simple review layout usually starts with the answer actions. Desktop Anki supports common keyboard controls, including Space or Enter to reveal an answer or choose Good, and 1 through 4 for answer buttons when those buttons are available. MODI Keyboard Mode includes preset inputs for Again, Hard, Good/Next, Easy, Undo, Suspend, Escape, Spacebar, and direction-key navigation. You do not need every one of those on the first restored map. Start with answers, then add only clear support actions.
For many users, the dependable core is Again, Hard, Good or Next, and Easy. That gives every graded card an obvious response without forcing you to remember a large custom grid. If your reviews often involve new cards or cards with fewer answer choices, keep the same physical pattern anyway, because consistency matters more than filling every possible action. Avoid assigning duplicate commands during the reset unless you have a specific reason and can explain it in your notes later.
Mode
Choose the configuration surface that matches your current workflow. On desktop, Keyboard Mode can provide the preset MODI inputs without requiring the add-on. The optional MODI add-on is for desktop users who want custom remapping through Anki. On iPhone, iPad, and Android, the standard MODI mobile setup uses Switch Mode, then the app’s own control settings assign actions. Keeping this distinction clear prevents a common mistake: trying to fix an app-level mapping inside the wrong place.
If the physical remote is connected in one mode but your planned layout assumes the other, button testing may look random. A desktop Keyboard Mode layout is not the same thing as a mobile Switch Mode gamepad layout. When switching modes or moving to a different device, the preferred starting point is forgetting saved MODI or Anki remote entries in Bluetooth settings and pairing again in the desired mode. For a button-layout reset, only do this when the mode itself is suspect.
Recovery
After the answer buttons, choose one recovery action: Undo or Replay Audio. Undo is useful when the wrong answer button gets pressed and the app supports the action in your current setup. Replay Audio is useful when listening is part of the card and you often need to hear the prompt again. Treat this as a real tradeoff, because placing both on prominent buttons can crowd the layout and make the restored map feel just as busy as the old one.
MODI Switch Mode defaults include Space or Good, Easy, Again, Replay Audio, Hard, and Undo. Keyboard Mode includes preset inputs such as Undo and Spacebar, along with answer and navigation keys. The exact action available still depends on Anki, AnkiMobile, AnkiDroid, or the MODI desktop add-on configuration you are using. If one recovery action does not respond during testing, do not assume the remote failed. Check whether that app view accepts the command you assigned.
Rebuild
Now rebuild the layout in a small, ordered pass. Assign the four answer actions first, then the single recovery command, then stop. Leave secondary actions such as Suspend, Escape, or navigation unassigned until the core review path works. This prevents a crowded layout from returning immediately. If your software requires every input to have an action, choose the least disruptive actions for unused buttons and write that choice down so you do not mistake them for intentional review controls later.
Use the recommended MODI orientation consistently while assigning buttons: vertical, with the D-pad facing down. That gives the physical map a stable reference point when you compare notes, screenshots, and actual presses. If AnkiDroid displays X-Y-B-A inputs as Y-X-A-B in its menu, remember that the source brief identifies this as a visual label mismatch. Assigned commands can still function normally, so verify by pressing the physical button rather than trusting the label alone.
Test
Finish with a test card before using the layout in a real review run. Pick a card where an accidental answer will not matter, or create a temporary note for testing if that fits your workflow. Press each assigned button once and say the expected action before pressing it. Confirm reveal or Good/Next, Again, Hard, Easy, and your chosen recovery action. If one button fails, test that single mapping again before changing several assignments at once.
If the remote connects but remains unresponsive after fresh pairing or configuration, restart the host device and try again. If only one command fails, return to the app or add-on settings and check that action instead of rebuilding everything. Keep your original layout snapshot until the restored map survives a short review session. Then update the snapshot with the simpler version, including mode, device, and app, so future changes begin from a clean known layout.
Sources and product references
This first-party MODI guide was checked against the current product manual and relevant app documentation. App menus and third-party behavior can change after publication.